Just faced a flood? A burst pipe? You’ve come to the right place. A reliable water damage restoration checklist can help you make quick, informed decisions and protect your belongings.
At Expert Water Removal, we care about your family’s safety. That’s why we wrote this checklist—to keep you safe and help you understand how restoration teams approach these emergencies. Continue reading to learn how to mitigate water damage while you wait for professionals to arrive.
What Is Water Damage Restoration?
Water damage restoration is the process of removing water, drying waterlogged materials, and repairing areas impacted by leaks, floods, or plumbing failures. The goal is to return your home to a safe, stable condition by addressing all moisture.
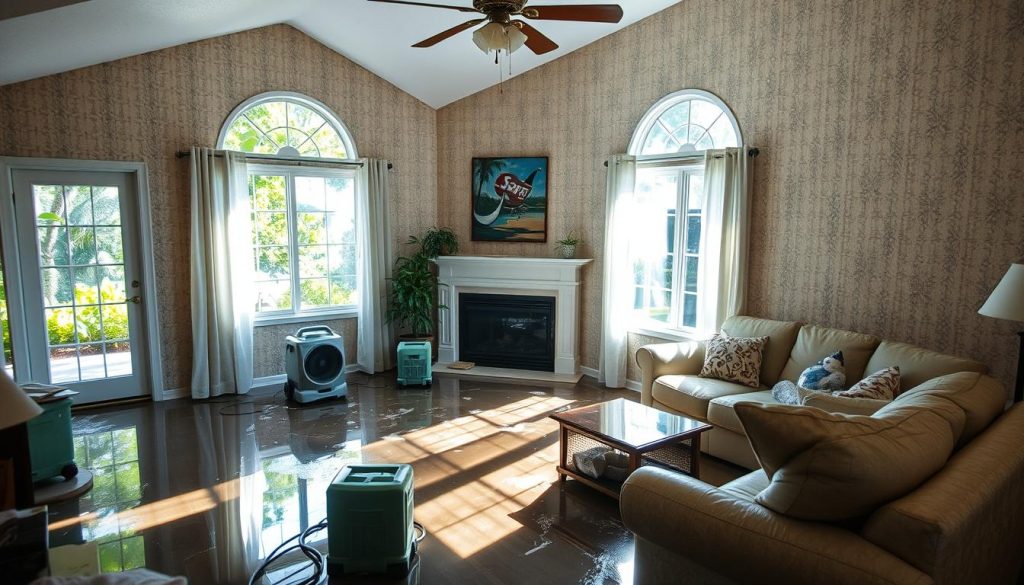
Restoration typically includes emergency water extraction, moisture mapping, and drying with specialized equipment like dehumidifiers, air movers, and thermal imaging tools. Once drying is complete, the team repairs damaged materials and verifies that the structure is sound and ready for use again.
Why Use a Water Damage Restoration Checklist?
Water damage can be overwhelming, and it’s easy to overlook important steps during the first few hours. A checklist ensures you:
- Protect your safety
- Prevent additional damage
- Document losses for your insurance provider
- Take the right immediate actions
- Understand the restoration process from start to finish
Water Damage Restoration Checklist
Starting with a clear plan is key to handling water damage. Follow this water damage restoration checklist so you can take the necessary steps to minimize damage and expedite recovery.
1. Find the Source and Stop the Water
Start by identifying the source of the water. Is it coming from a broken pipe? A roof leak? An appliance? Shut off the main water supply or turn off individual valves if you can do so safely. If the source isn’t visible or electrical hazards are present, avoid entering the area until a professional evaluates the situation.
2. Take Care of Your Home
Before water damage cleanup, it’s important to make sure the space is safe. If water may have reached outlets or wiring, turn off electricity to the affected rooms. Keep children and pets away from the area. If it’s safe to enter, take simple steps to prevent more damage—elevate furniture legs and open windows to increase airflow.
3. Inspect the Water Damage
Look closely to understand how far the water has spread. Check floors, walls, ceilings, and baseboards for soft spots, discoloration, or bubbling. Water often travels into hidden areas, so even minor damage should be taken seriously. Avoid tearing out materials or beginning repairs yourself; trained specialists use specialized tools to identify the full extent of the problem.
4. Document Your Losses (Take Photos of Damage)
Thorough documentation is essential for insurance claims. Take clear photos and videos of all affected areas, make a list of damaged items, and note when you first noticed the issue. Keep receipts for temporary repairs or supplies you purchased. Detailed documentation helps your adjuster accurately evaluate the loss.
5. Call a Water Damage Restoration Company
Once you have stabilized the situation, contact a professional restoration company. Technicians can extract water, prevent secondary damage, and set up drying equipment quickly. They also help guide you through documentation, insurance communication, and next steps. Fast action from a trained team makes a significant difference in how much of your home and belongings can be preserved.
6. Contact Your Insurance Company
Notify your insurance provider as soon as possible. Share the photos, videos, and notes you collected, and be prepared to answer questions about the cause of the damage. Your adjuster may schedule an inspection or request additional documentation. Staying organized and communicating early helps keep the claims process moving smoothly.
7. Remove Standing Water Quickly
Standing water can lead to serious structural issues. If it’s safe and the amount of water is minimal, you may begin drying small areas with towels or a wet/dry vacuum. Avoid attempting large-scale water extraction on your own—water restoration technicians use commercial equipment for that. Early water removal helps protect your home from further damage.
8. Move Salvageable Items to a Safe Place
Carefully relocate items that can be saved to a dry, elevated area. This may include electronics, clothing, important documents, and keepsakes. For heavy furniture, place protective barriers under the legs to keep moisture from seeping in. Preserving personal belongings early in the process makes restoration easier and can prevent unnecessary losses.
9. Watch for Mold
Mold can grow within 24 to 48 hours after water damage. In fact, moisture can linger in walls and flooring even after visible water has been removed. Keep an eye out for musty odors, discoloration, or surface spotting. These signs may indicate lingering moisture. Do not disturb materials that seem affected—simply note what you see and share this with your restoration technicians.
10. Review the Restoration
When restoration is complete, walk through the property with the project manager to review the work. Confirm that all affected areas have been dried, cleaned, and repaired. This is your time to ask questions about the drying timeline and any recommended next steps.
Contact Expert Water Removal in Tampa, FL
Water emergencies require fast, dependable help. Expert Water Removal offers 24/7 emergency response, advanced drying equipment, and trained technicians who guide you through every step of the restoration process.
If you need immediate assistance, contact us for our emergency water damage restoration services. We’re ready to respond and help restore your home as quickly as possible.